As an Amazon Affiliate, I earn from qualified purchases at no additional cost to you.
Last month, I invited you to my garden to see what I’m having fun with, what’s growing, what isn’t, and some of my favorite plants. This month, please join me again as we have a look at some of my newest efforts and see how the plants featured last month are doing.
This is the video that I made as a Facebook Live recently. I think it’s fun – I hope you do, too.
I have always loved gardening, even if I’m not always very good at it! Sometimes things just don’t grow, or vegetables/fruits don’t make. It’s all part of the package of learning to be self-sufficient and getting what you need from nature. As I see it, it’s also about helping nature along when she runs into trouble. In my gardening efforts, that happens as often as not!
Case in point: my cherry tomato plant.
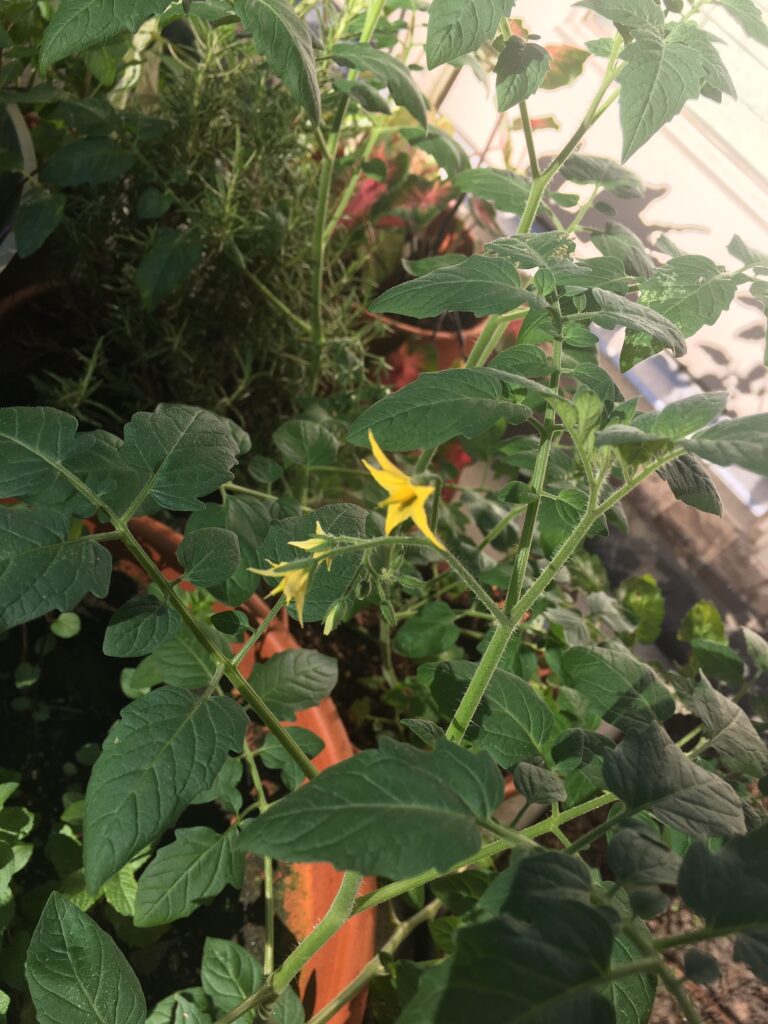
Tomato plant in flower 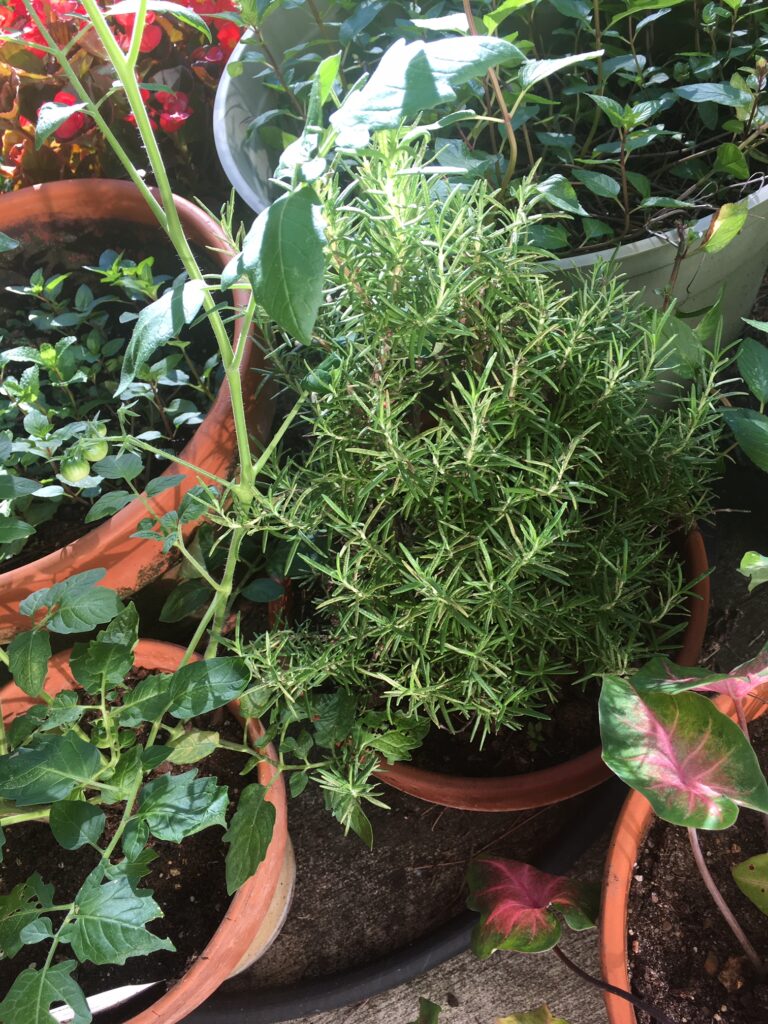
Another view of the tomato plant just after transplanting 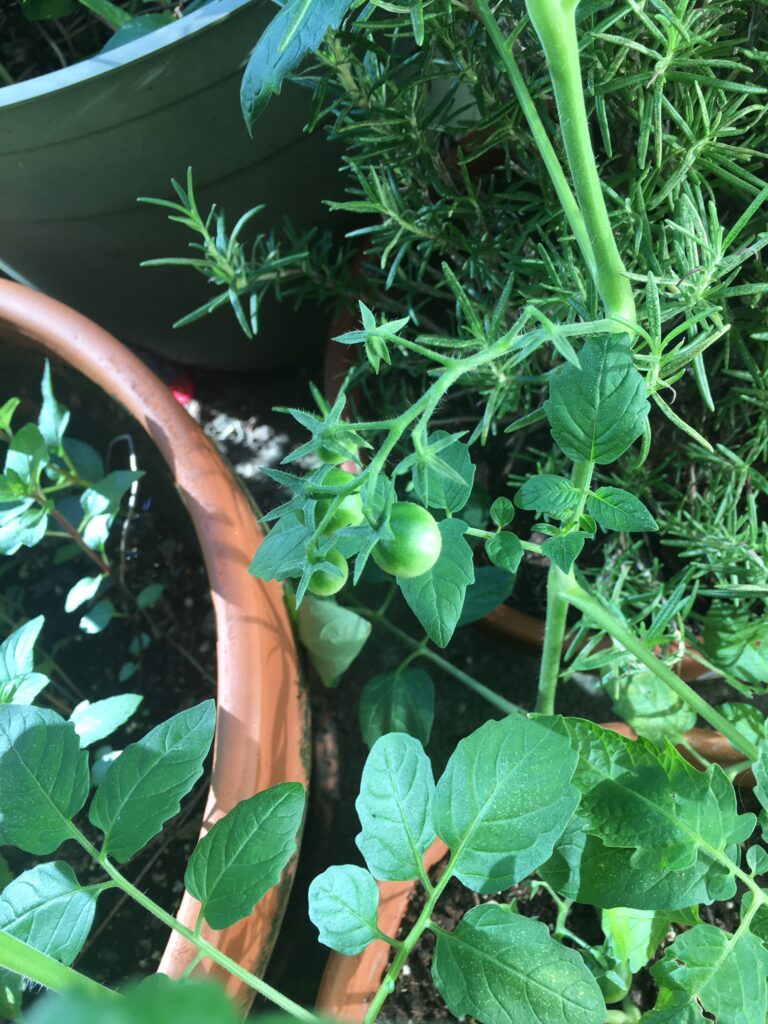
Tomato plant setting fruit 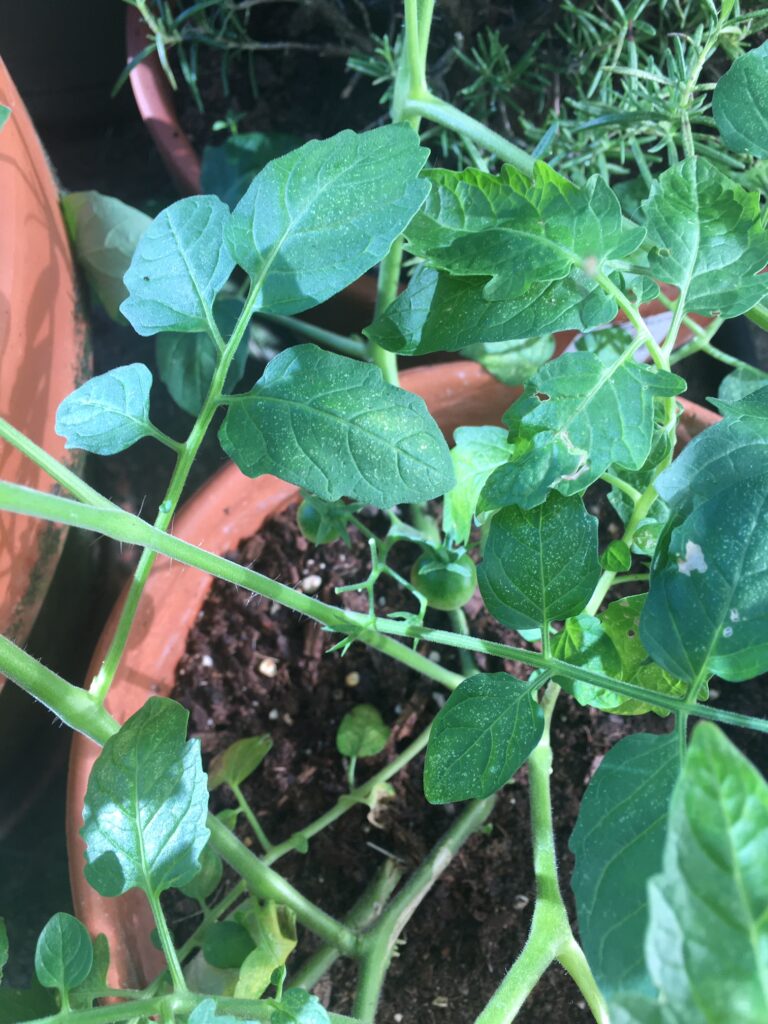
Tomato plant after transplanting into its pot
So, in the picture above, you can see how great my little tomato plant (it’s a cherry tomato, and perfect for container growing) looked after I brought it home, treated it with some TLC, and planted it in its pot. Everything was going well. It flowered. It made a few, but tasty, little tomatoes. Now, I have to tell you, that is already a record of sorts for me. I have super bad luck with tomatoes – it’s become a personal challenge to try to grow them and have them produce well! Here is a photo of the very first tomatoes from this plant. They are perhaps a bit smaller than expected (not much, though), but they had a great flavor!
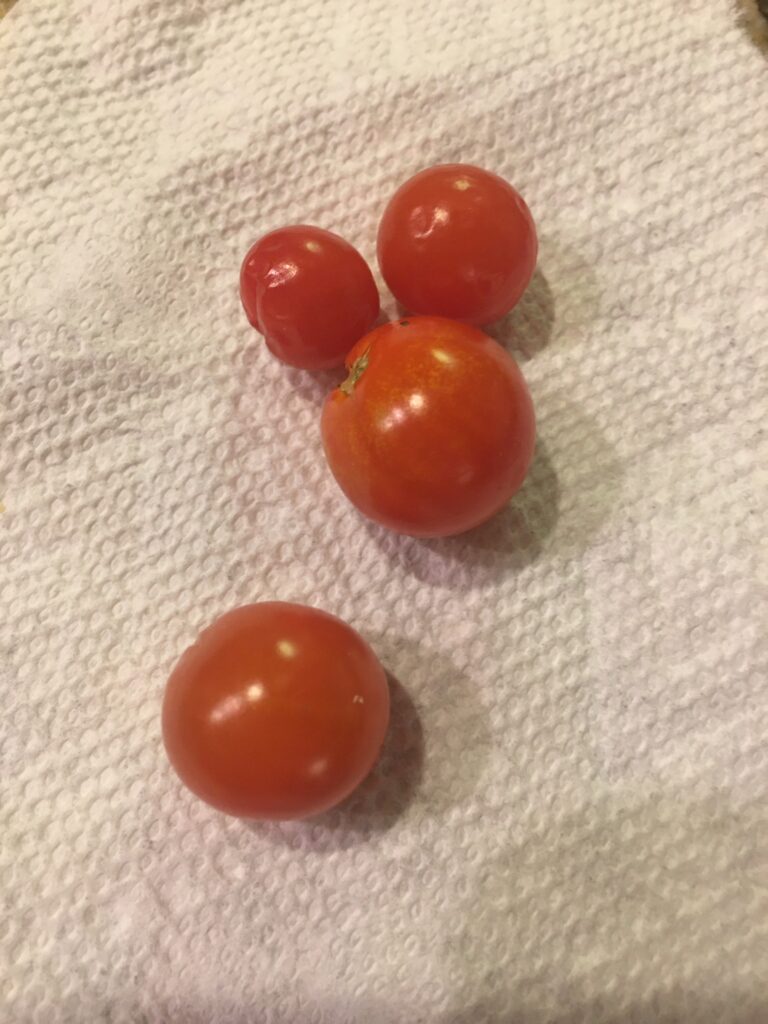
Fast forward about 3 weeks. Uh-oh, now there is a problem. I’d placed it on the patio in its pot, where I have most of my plants in containers, and everything was fine. Unfortunately, not for long…the plant’s leaves started turning yellow, then curling and drying up – ultimately, falling off. And to make matters worse, the existing flowers started to fall off. Even the leaves that didn’t fall off or curl were getting yellow in the veins of the leaves. I take this personally – it had to be me, right? Okay, maybe not, but I purchased the plant from a reputable source. It should have been “wilt-resistant” and also resistant to anything else that afflicts tomato plants. Obviously – not! At that point, I felt like just dumping it into the trash, but there were about ten little green tomatoes on the plant, so I figured that I would wait it out, trying to take good care of it and hope for the best. I did manage to harvest some of the little tomatoes (all tasty!), but a few are still on the bush, and still green. A few more are still ripening.
I decided that perhaps the plant was suffering from too much sun (probably not, but it was worth a try). I moved it to our covered patio and put it on the bar behind the outdoor kitchen where it got “enough” sun but wasn’t baking in the excessive heat of summer sun in Texas. The plant’s leaves were still turning yellow, but I was seeing new growth, and finally new flowers! After about 2 -3 weeks, I decided that the new flowers weren’t setting fruit and I might as well try again in full sun on the other patio. Some of the leaves were still curling and turning yellow, too. I put it back – this time setting it on top of a plastic container to elevate it from the hot concrete and get it into an optimal position for sun. I’m not sure if this is working, but the plant is now putting out some new growth. The nodes where the leaves fell off are making new leaves which are sprouting out – and they’re green! (so far) More flowers, too, and one or two are setting fruit, so I hope new tomatoes will be forthcoming. Here are some pictures to show you the status now:
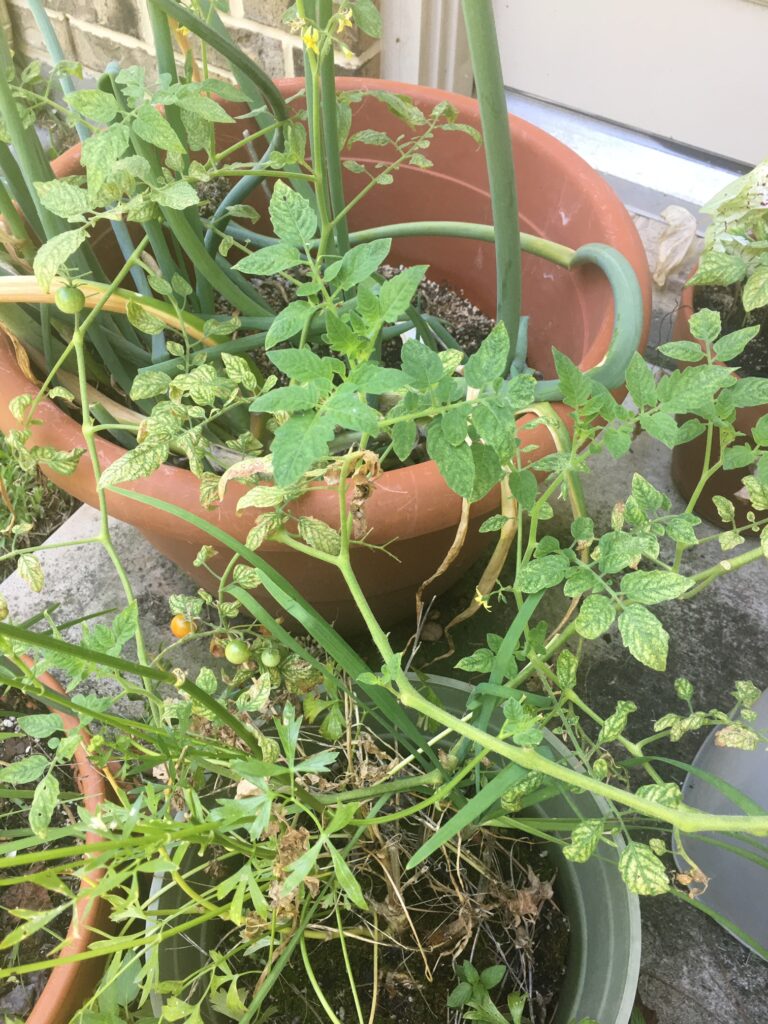
Tomato plant with wilt 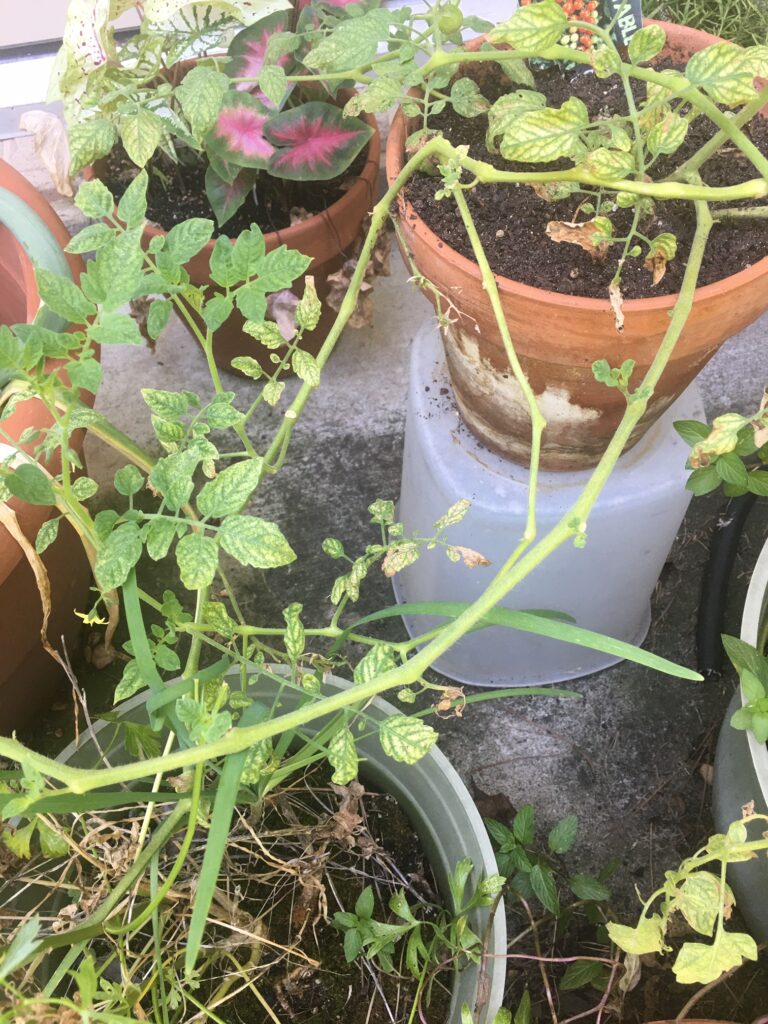
Recovering? from wilt – new leaves! 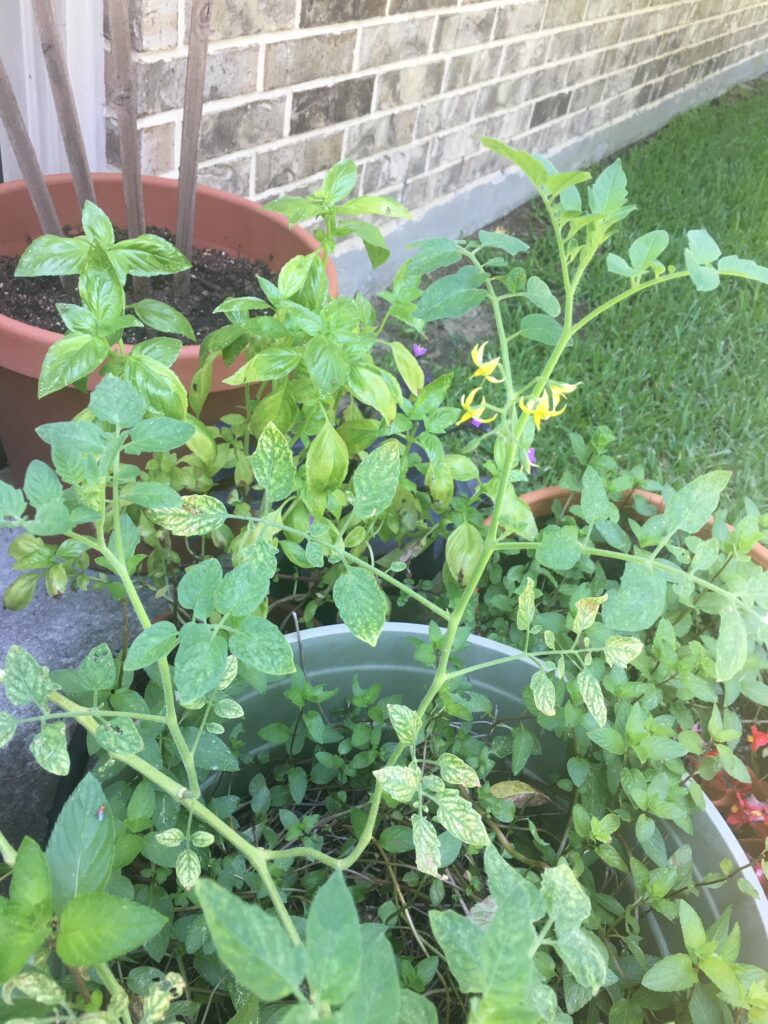
Trying to help this tomato plant overcome an attack of wilt
Flash update!!! (Sunday, June 28, 2020) Looked at the tomato plants this afternoon, and guess what? They have TONS of new growth and flowers! AND – they look healthy! The leaves are beautiful and green. No wilt. No yellowing. The plant has almost doubled in size this week. I’ll keep you posted! I hope I haven’t spoken too soon!
Okay, I think that’s enough about my tomatoes. Let me show you some of the things I talked about in the video. I love experimenting in the garden – I’m educated in the sciences, and although I haven’t had a ton of work experience in that area (due to frequent moves during the last 50 years), I still love to experiment.
I covered a lot in the Facebook Live. If you haven’t seen it, I hope you’ll watch the video at the beginning of the article, which is the same one that’s on the Oaks and Magnolias Facebook page. I really enjoy inviting you into my backyard to see what I’m playing with!
This really is play, although I am serious about getting some edible produce from my efforts. I tried cutting the bottom 3/4 to 1 inch of the root end from onions I use for cooking. Then I set these (root end down) in a little cup with just enough water to reach up to the edge, but not cover, the cut off top side. In a day or so, roots began to form! After more time (it depends, I think, on the temperature of your house and the type of onion), little green sprouts began to grow from the sliced onion. At that point, you can plant these in soil and grow some onions! In reality, don’t expect to grow new onion bulbs. That’s probably not going to happen, but you will have lots of beautiful green onion stalks to clip off for cooking. At no cost to you. Here are mine, including a couple that I transplanted.
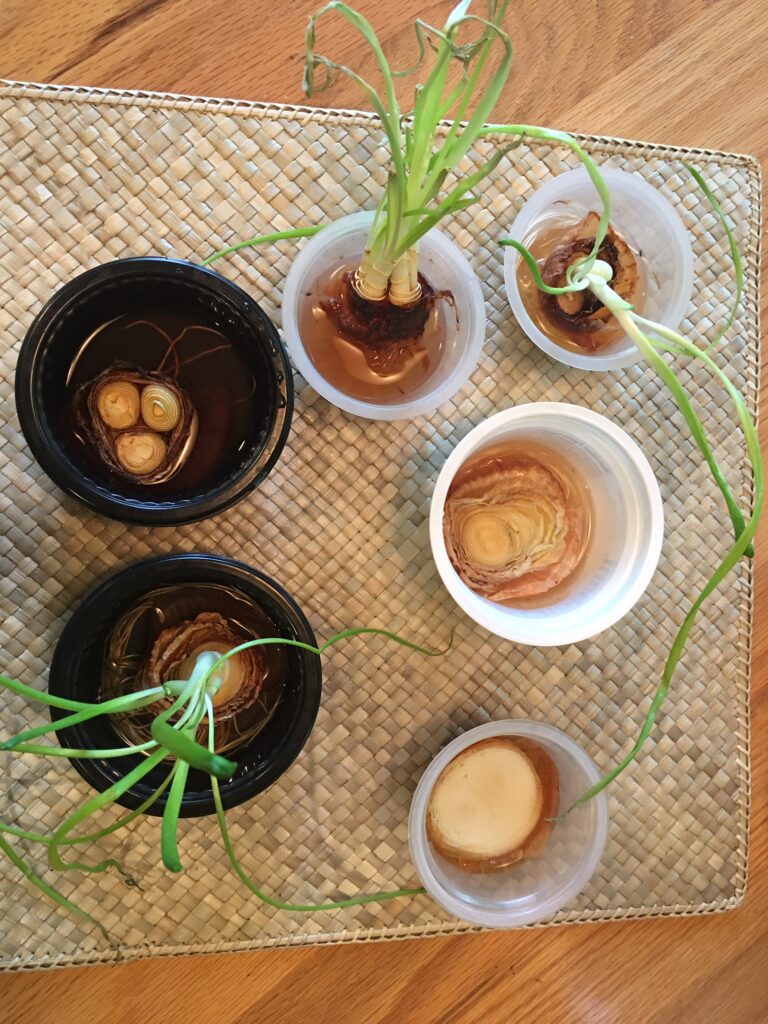
Onion bottoms taking root in water 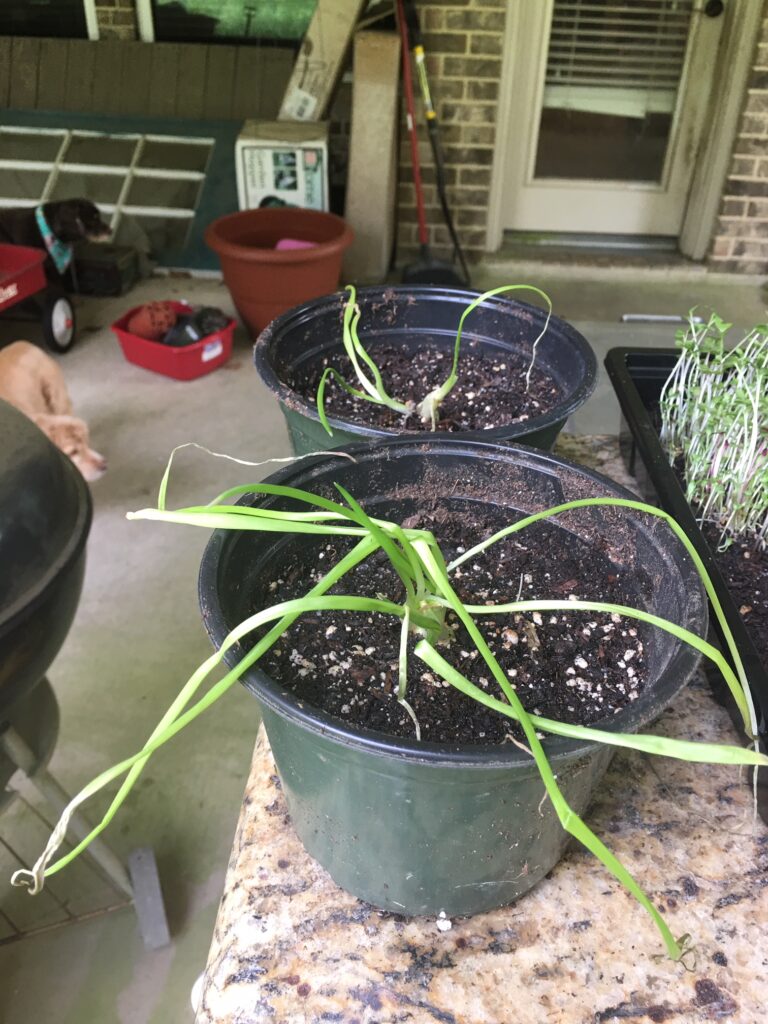
Sprouted onion bottoms planted in soil
I am excited about growing microgreens again! I did this a couple of years ago, and the taste and texture they added to our home-prepared salads was fantastic! I think they probably add a lot of nutritional dynamite, too. Anyway, below you will see my new attempt at growing micro greens. I planted two kinds. At one end are seeds which I just scattered on the surface of the potting soil in the tray – these are seeds designed for sprouting, but I have found they make great micro greens. They came up in one day! In a few days, they will be ready to harvest to top a salad. At the other end of the tray are little red-stemmed plants – these are sprouts of beet seeds which sprouted after I planted them in a row. These are planted about a centimeter down (1/2 inch, more or less). They came up in less than 2 days. The color and texture – and taste – is a real winner when you top your salad with these. Since I wrote this, the micro greens are ready for harvest – see photo on the right, below.
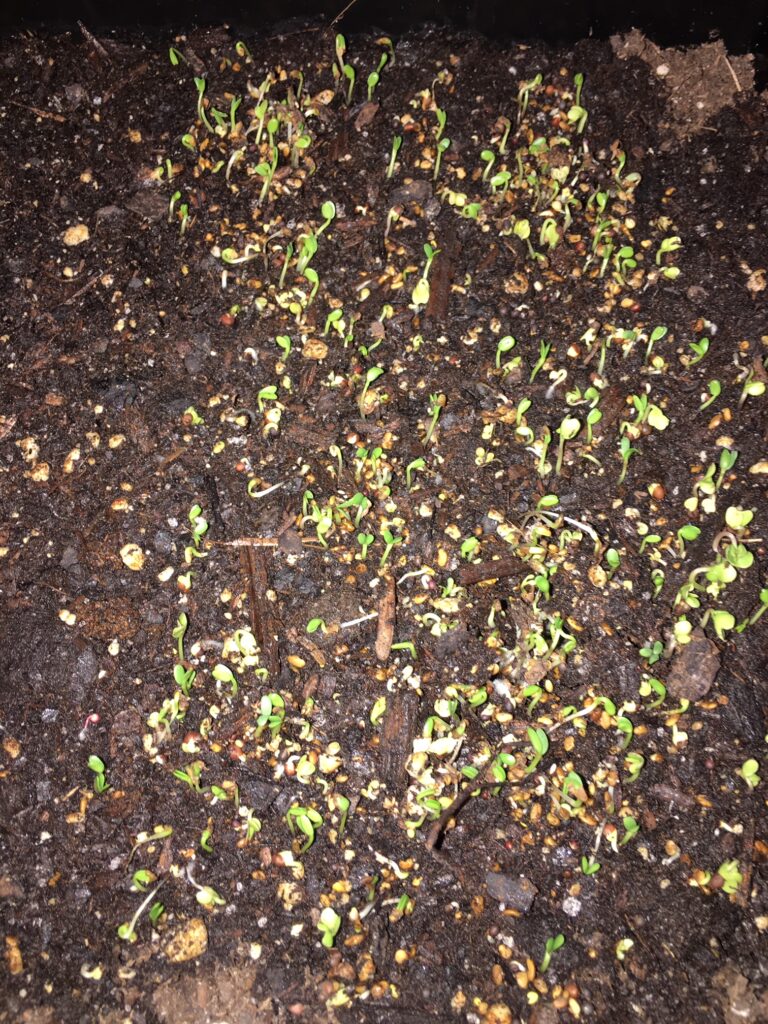
The micro greens sprouted in just one day! 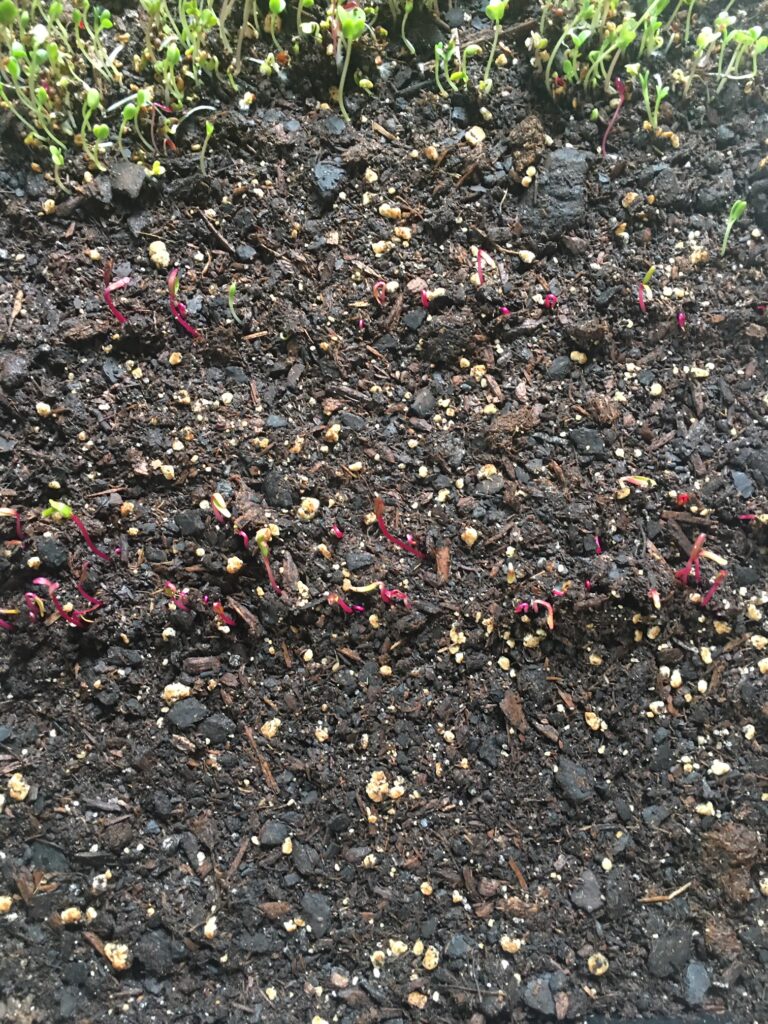
Beet greens starting to sprout 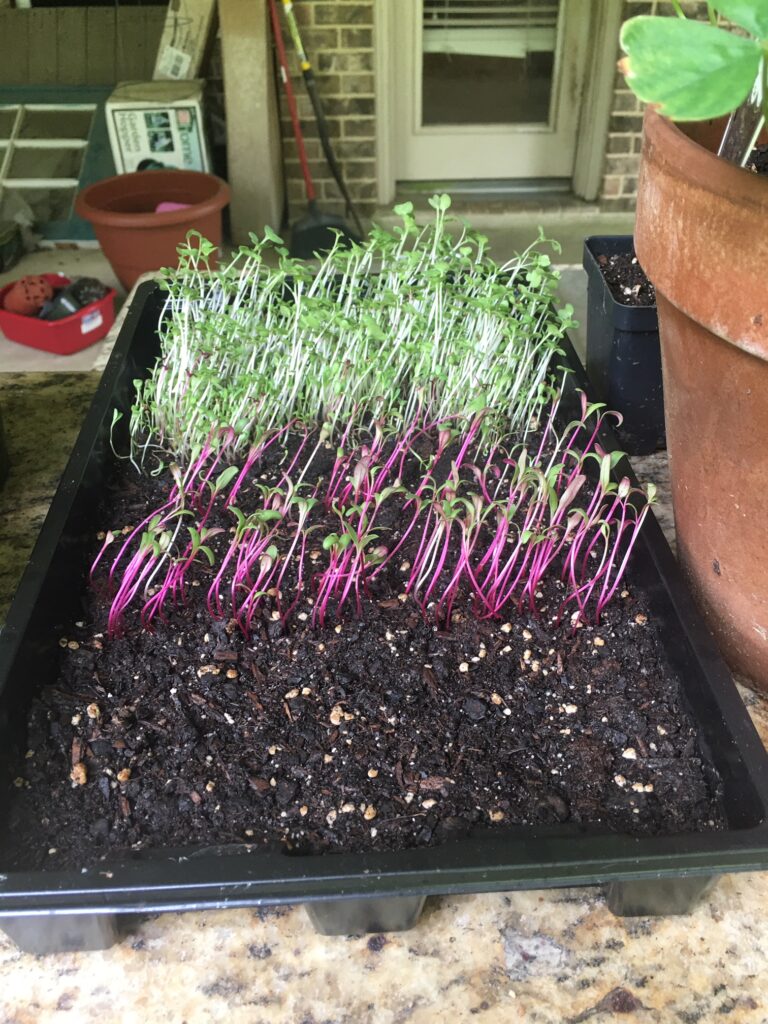
Beet and assorted micro greens – four days’ growth
The seed trays are oh, so useful and easy. I got mine from Amazon and they seem really sturdy. They came with some garden labels in assorted colors to insert into the soil so you know what you’re harvesting. I like to use them for starting sprouts or micro greens, or sometimes, something that I will transplant with a chunk of soil around the roots, like a small seedling. You can just cut them apart if you have a lot growing in close quarters…
These are the ones I ordered, at left in the pictures just below. If you’d like to get some, I think this is a nice set. I’ve also included a couple more products that I have tried and like! The sprouter Kitchen Crop VKP1200 on the right is a slightly newer version of the one I have. I like it because you can grow several different kinds of sprouts in separate compartments. I keep it on the kitchen counter and just re-plant as I use up the sprouts. The last one on the far right is a compact Seed Sprouter by LeJoy Garden. I have one of these on order. I like it because it’s self-contained, and it’s made in such a way that the tiny holes don’t let small seeds fall through – a problem I have run into in the past with older sprouting products. Please follow the links and check these out – if you’re interested in trying sprouting, you can’t miss.
I guess that’s it for this time. I hope you enjoyed visiting with me in my back yard garden. Please comment below – I love to hear about what interests you and what you’d like to hear more about on the blog! Don’t forget to visit the Oaks and Magnolias Facebook page. You can find us on all the usual social media too, of course. I love adding photos and updates to the different media, especially Instagram,. Watch for them!
Coming soon – more updates on the garden, recipes, travel planning for future getaways (when it’s safe), and especially – making a garden journal! Don’t forget to sign up for the newsletter in the sidebar so you don’t miss out!
See you soon!



Walking with you In your shady backyard garden that is filled with young growth is a joy. It gives me hope for better and more fruitful days to come.
Keep the relaxing, friendly updates coming !
The dog days of summer bring growth in the garden.